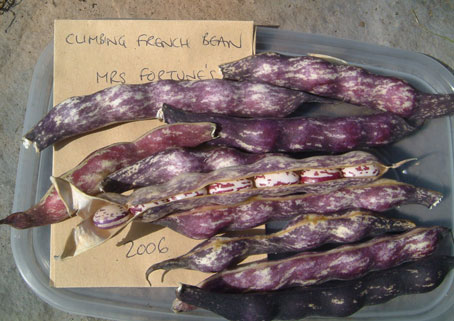
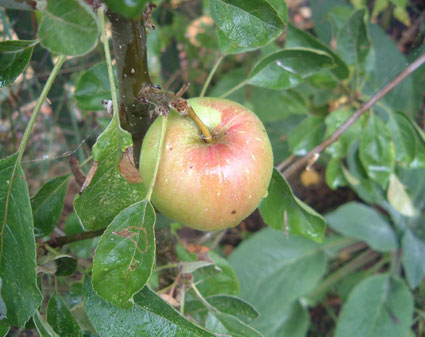
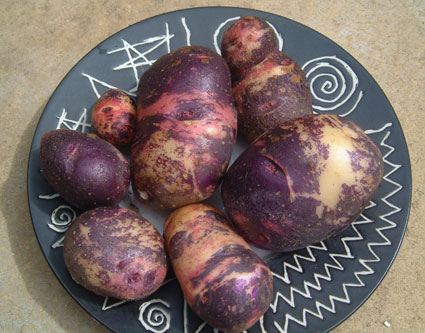
Since we're getting into that time of year again, I thought it might be useful to put together a quick and simple guide to vegetable seed saving, since this sort of info is rarely found in gardening books. Most things can be home-saved, and it not only saves money but helps to maintain long-term biodiversity. As more and more traditional open-pollinated varieties disappear from the catalogues to be replaced by overpriced and overhyped hybrids, you could find yourself looking after a variety that's no longer available and helping to keep it from extinction. Like the lovely maroon and white beans shown above, an heirloom variety which is unavailable to buy.
When you save seed from year to year though, things can get more complicated. If you've read my post about
F1 hybrids you may remember that plants fall into two basic types when it comes to reproducing.
Inbreeders are happy to self-pollinate to kingdom come and show no ill-effects from it. Seed from a single plant, or even a single pod, can be enough to keep the variety going.
Outbreeders are designed to cross-pollinate with other plants and need lots of genetic diversity. Without it they succumb to
inbreeding depression ... within a few generations they start to lose their health and vigour. To avoid this you need to save seed from a number of plants, not just one or two. They will also often cross-pollinate with other compatible plants growing nearby so if you want to keep a variety true from seed you may need to isolate them from other similar crops.
So isn't it more hassle than it's worth to save seed from outbreeding crops? Not really, no. Because over the years you'll be selecting seed from the plants which grow best in your garden, and will gradually develop your own sub-strain which is optimised for your growing conditions. For this reason home-saved seed often does better than the stuff you buy (in America, commercial seed may have originated in a different zone with very different conditions ... while most seed sold in the UK is not produced in the UK at all).
F1 hybrid plants sometimes produce sterile seed, or no seed at all. And when they do produce viable seed it doesn't come true to type. The usual advice is not to save seed from F1 hybrids. If you're interested in plant breeding though, or just enjoy the element of surprise, you can ignore that advice. The resulting plants may turn out nothing like the parents, and may initially be inferior, but you'll have all sorts of brand new and possibly unique genetic combinations to choose from, and you're a step closer to producing a new open-pollinated variety.
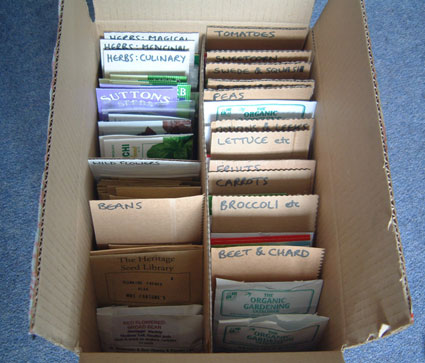
Storage of seed is a whole subject in itself, but for year-to-year seed saving (as opposed to long-term storage) you can just dry them out as much as you can and store them in paper envelopes. I usually place each envelope inside a self-seal bag too.
OK, here we go:
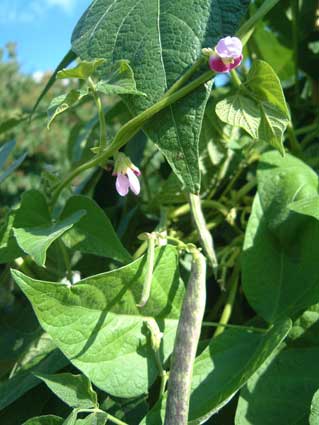
Beans, FrenchLeave the pods on the vines for as long as possible, until they are dry or at least until they start to change colour. Then harvest them and dry them out further indoors. To hasten drying you can split the pods open, but try to leave the beans attached. When the pods are dry and brittle, shell out the beans.
Pollination issues: Strongly inbreeding and self-pollinating, so you can save seed from a small number of plants and grow different varieties close together with no problems.
Beans, RunnerSame method as for French beans.
Pollination issues: A rampant cross-pollinator, so keeping varieties true to type is almost impossible on allotments and where neighbours are growing them. If you need to keep them pure, hand-pollinate and bag up individual flower clusters to keep the bees out. If you're not bothered by a bit of genetic diversity though, don't worry about it.
Beetroot and chardBeets and chards are biennial and normally go to seed in their second year. The seeds grow on long straggly spikes and take ages to mature. You can pick them off individually as they turn brown, or wait until they're nearly all brown, cut the whole spikes and run a gloved hand along them.
Pollination issues: Strongly outbreeding ... grow at least 16 plants to keep a healthy diversity.
Beetroot, chard and leaf beet will all cross-pollinate with each other! To avoid this, grow only one type for seed at any one time. The pollen can travel up to five miles, so if purity is essential you'll need to bag up individual flower spikes.
BrassicasNot the easiest to save for seed. Most flower in the second season. The long thin seed pods fall to bits very readily when they're ripe, and are likely to be ransacked by birds. The easiest solution is to cut the flower stalks as soon as they reach maturity and hang them upsidedown indoors with a paper bag over them to catch the little round seeds as they fall from the pods.
Pollination issues: Strongly outbreeding ... most can't self-pollinate and are prone to inbreeding depression. You really need to grow around 20 plants, if you have the space. They also cross-pollinate like mad, so isolation is needed to keep varieties true.
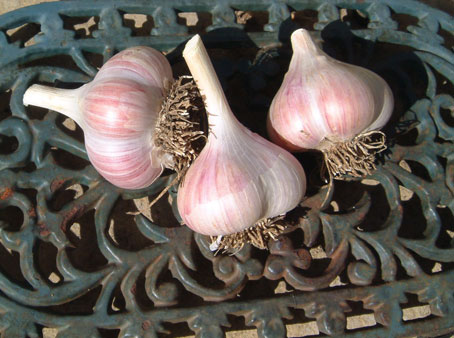
GarlicGarlic is a plant that no longer bothers to set seed in the conventional sense. It's normally propagated by dividing and replanting the cloves. Save healthy bulbs from the regular harvest and leave them intact until planting time (autumn).
If you allow garlic to flower it will produce a huge number of bulbils in the flower head instead of seed. These are essentially miniature cloves and can be saved for planting. They take two years to produce full-size bulbs, but have the advantage that they're less likely to carry diseases. Cross-pollination is not an issue because the bulbils are produced asexually and are therefore genetically identical to the parent plant.
LettuceSeeds produce little white tufts, like thistles, when they're mature. They tend to mature at different times, so collect them regularly as they ripen. Allow them to dry indoors until very brittle then rub off and remove the fluffy tufts.
Pollination issues: Inbreeding. Seed can be saved from just one or two plants. They don't usually cross-pollinate, but to be on the safe side grow different varieties a few feet apart.
Onions and leeksFlowering in the second year, onions and leeks produce beautiful spherical seedheads. Allow them to ripen until the seed capsules start to go pale and papery (they will probably all mature at different times), then cut the flower head and hang it upsidedown in a paper bag in a dry place.
Pollination issues: Strongly outbreeding, and need plenty of pollination partners ... try to grow at least 16 plants. Onions and leeks will readily cross-pollinate with others of their own type but not with each other, though onions may cross with shallots. To maintain pure varieties grow only one type for seed at any one time (you can still grow other varieties for eating, since those won't be flowering).
PeasSame as for beans really; allow the pods to dry for as long as possible on the plant and shell them out when the pods are brown and crisp.
Pollination issues: Strongly inbreeding, so there are no problems with saving seed from just a few pods, and they're unlikely to cross-pollinate even when grown close together.
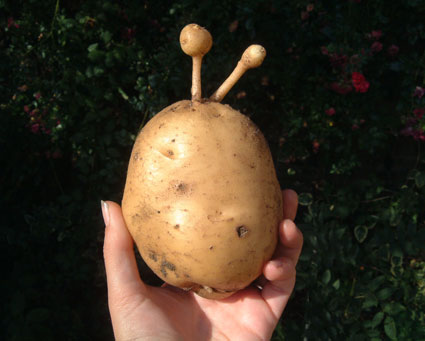
PotatoesTo save tubers for next year's crop, select them at harvest time and keep them in a cool, dark, frost-free place over winter. Select only firm and healthy tubers, which ideally should be about the size of a hen's egg. Leave them in a bright sunny place for a few days before storing them, which helps to toughen the skins and keep them dormant. Check them from time to time over the winter and chuck out any that are going soft or mouldy.
Some potato varieties will set top fruit which contain true seeds, and these can be saved too. If your plants have produced "apples", collect them when they're just starting to soften and are ready to drop from the plant. Process them in the same way as tomatoes (though the stinky fermentation process shouldn't be necessary ... just wash them thoroughly in a sieve to remove the pulp).
Pollination issues: Potato flowers cross-pollinate fairly readily, but in practice so few of them produce viable pollen it's unlikely to be an issue. Even when self-pollinated though, they will not come true from seed (because they have a slightly eccentric arrangement of chromosomes). Each one you plant will be effectively a new variety. Conversely, plants grown from tubers are genetically identical to the parent plant.
Squash (pumpkins, marrows etc)The seeds are so huge you can't miss 'em. It's usually best to leave the fruits to ripen for a few weeks after harvest before collecting the seeds, or just leave them until you're cutting them up for eating. Wash the seeds to remove bits of pulp and fibre, then spread them out on a plate to dry thoroughly.
Pollination issues: Outbreeding, and will cross-pollinate with any other squash of the same species. Unlike most outbreeders though, it's not prone to inbreeding depression ... so you can get away with saving seed from just a few plants ... 6 or so will do.
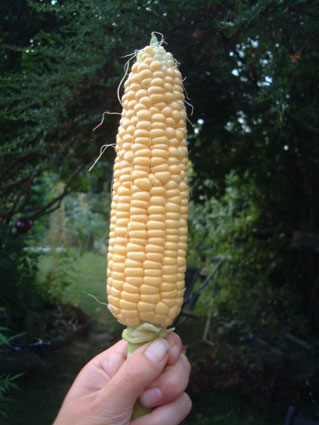
SweetcornSaving seed from sweetcorn is not really practical unless you have room to grow a lot of it!
Leave the cob (ear) on the plant for as long as possible or harvest when it's mature and bring it indoors to dry. When it's completely dry, the kernels can be removed by rubbing two cobs together.
Pollination issues: Extremely outbreeding! More prone to inbreeding depression than just about any other vegetable, and even sowing just one generation of inbred plants can result in an inferior crop. To be sure of maintaining health and vigour you need to grow and keep seeds from about 200 plants. Gulp.
Sweetcorn is wind-pollinated and produces stupendous amounts of pollen which is then cast to the four winds. To keep a variety pure it needs to be isolated from other varieties by some considerable distance.
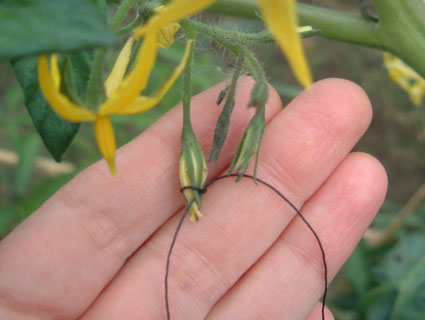
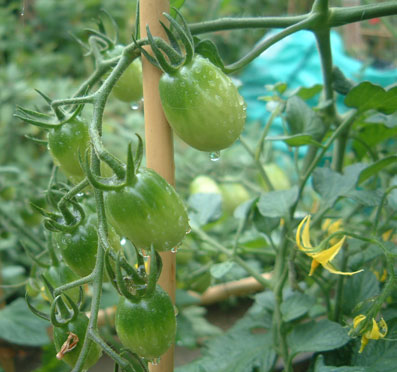
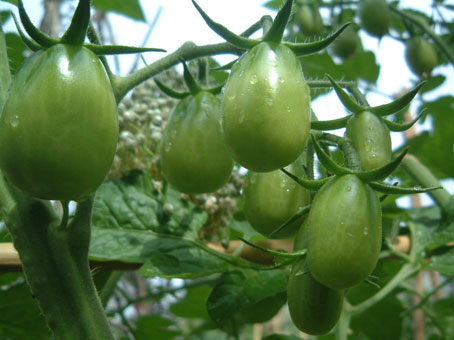
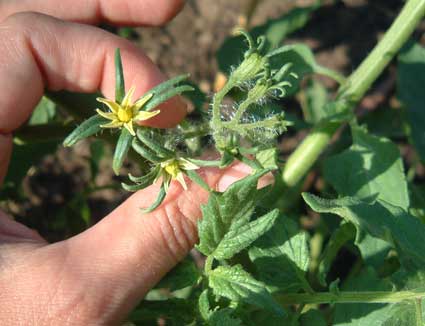
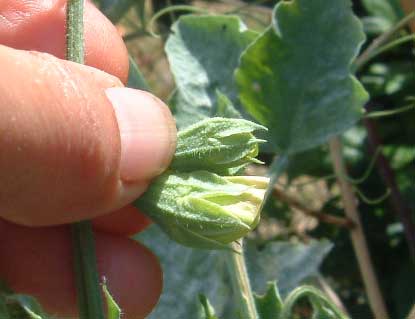
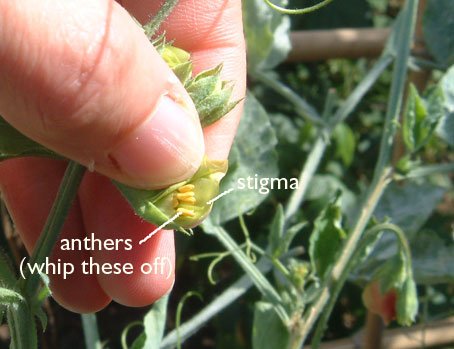
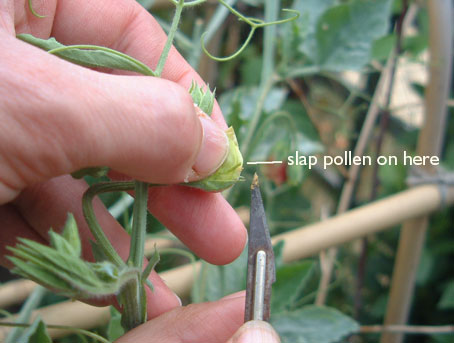
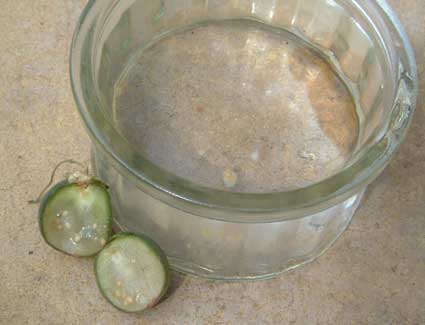
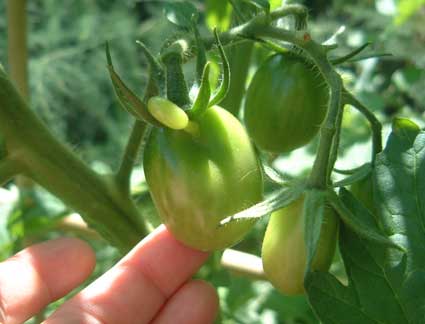
TomatoesThe 'proper' way to save tomato seeds is to scrape the seeds (including the gooey gel stuff) from ripe fruits into a small container, maybe add a tiny splosh of water, and leave it to ferment for a few days. During this time it will produce a crust of disgusting mould and a stench which could put you off tomatoes for life. When all the gel has dissolved away, rinse the seeds thoroughly in a sieve under running water and then leave them to dry for several days. Stir them around regularly to prevent them sticking together.
An alternative and much less stinky method is to scrape the seeds out onto a sheet of kitchen roll, spread them out to separate them and leave them to dry. The gel acts as a glue and sticks them to the sheet. I've heard this method criticised because the gel also acts as a germination inhibitor ... but in my experience the seeds germinate fine, even after several years.
Pollination issues: Strongly inbreeding. Saving a single fruit is enough, although more is better. Cross-pollination can happen but usually doesn't. If you want to be sure of pure varieties, isolate the plants from other types as far as you can.
 Meraviglia di Venezia ... latecomer to the party
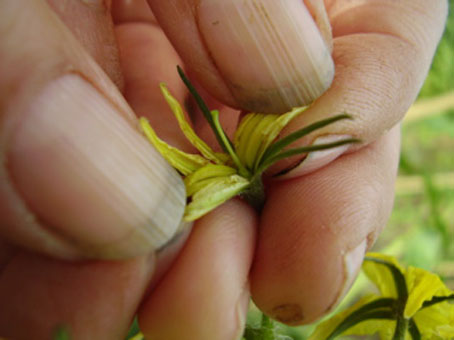
 At last the first tomatoes are beginning to colour up (Pink Jester is the only one showing any interest in ripening). I was thinking I'd have to change the title of the blog to Daughter of the Unripe Tomato. They are very light-sensitive and as the weather has been so overcast throughout August they haven't been progressing as well as I'd hoped. They're still showing far more interest in spurting sideshoots from every available orifice than they are in ripening their existing fruit. They're even sprouting sideshoots from their fruit trusses, which is a bit daft. I've given them a good talking to. I've explained that they're not in their native South America now, they're in a cold damp country with a short growing season and they'd better get on with it.
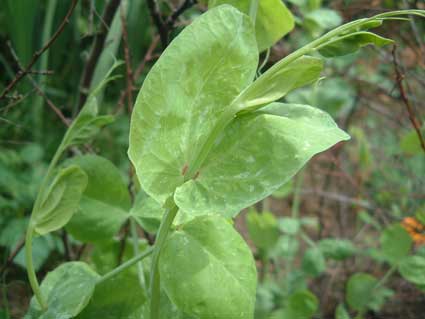 Ezetha's Krombek Blauwschok, of pre-1882 vintage, showing a ring of purple in the leaf axils. All the purple-podded varieties seem to have this, and the yellow-podded Golden Sweet has a larger double ring.
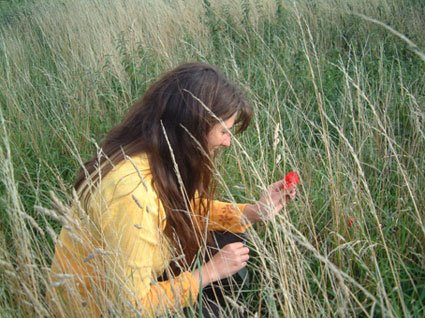 My husband is used to it by now ... every time we go out for walks anywhere I'm constantly diving into the undergrowth to look at plants.
 And this is what I was so interested in. It's a common British field poppy, Papaver rhoeas, but a very special one with dark red stripey veins. My eye was initially caught by its unusually intense colour, but the extraordinary flame-like pattern was an amazing find. I feel very privileged to have seen it.